
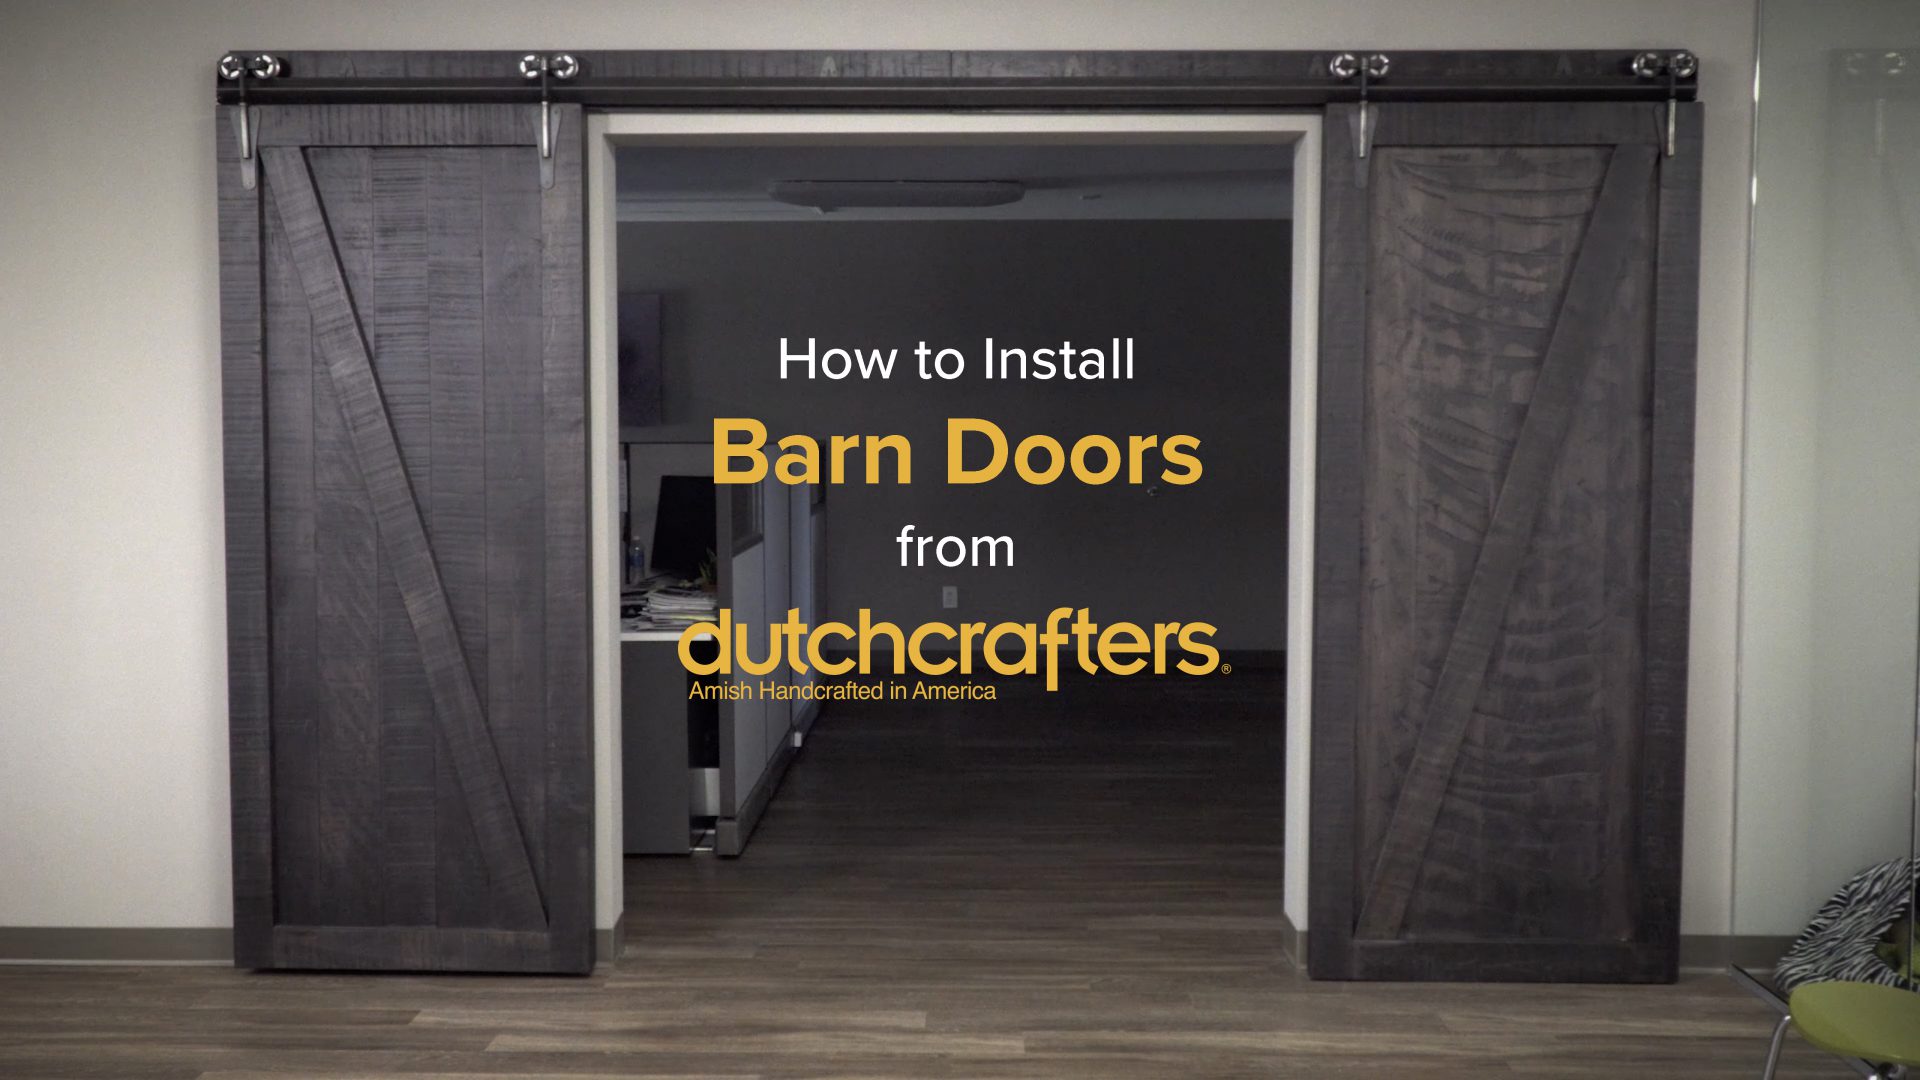


Rustic beauty meets functionality when it comes to these Original Interior Sliding Barn Doors: a stylish way to save space in any home. Watch as we demonstrate how to install sliding barn doors in your home.  This video easily lays out all the steps in the installation process for you as you consider jumping on this Sliding Barn Door trend that is sure to stick around. Whether you’re looking for a barn door to your closet, pantry, toy room or double sliding barn doors for a grand entryway this how-to video will help you see just how easy it is.
Check out all our stylish Authentic Interior Sliding Barn Doors right here at DutchCrafters and see the beautiful accent to home decor that rustic furniture provides.
Steps to Installing a Sliding Barn Door
Installing sliding barn doors requires basic construction tools and skills.
- First, you will screw trolleys into base plates.
- Then, you must prepare the wall for mounting by identifying stud positions and clearing the space.
- After this, you’ll attach the mounting boards to the wall by screwing it into studs.
- The fourth step is to attach the track to the mounting board at the appropriate height.
- Finally, you complete the installation by hanging each door from the track and securing them in place.
Read below for the detailed instruction steps outlined in this sliding barn door installation video.
Interior Sliding Barn Door Installation:
Parts Included:
- 2 Doors
- 4 Trolleys
- Note: Trolley Base Plates will come attached to doors, trolleys separate
- 2 Mounting Boards
- 2 Tracks
Installation Steps:
- Screw Trolleys into Base Plates
- Prepare Wall for Mounting Board
- Mark stud locations in wall
- Measure from floor and center of doorway to mark screw hole positions
- Pre-drill holes into studs if necessary (i.e. for metal studs)
- Attach Mounting Boards to Wall
- Mark and pre-drill holes in mounting board
- Insert toggle bolts for metal studs or lag bolts for wooden studs
- Attach mounting board to wall
- Level and secure in place
- Repeat for other side (if applicable)
- Attach Track to Mounting Board
- Measure up from floor for approximate height
- Screw one end in place
- Hold track in place and level
- Secure track to mounting board
- Hang First Door From Track to Check Height/Position/Level
- Tighten bolts to appropriate floor clearance
- Snug down nuts to lock bolts in place
- Hang second track and door (remove door while mounting second track)
- Slide doors together
- Adjust bolts to ensure doors hang plumb with a tight fit
- Snug down all nuts to lock bolts in place
Barn Door Features
Don’t miss our feature video on these doors! https://www.dutchcrafters.com/video/video/sliding-barn-doors-the-interior-design-craze/